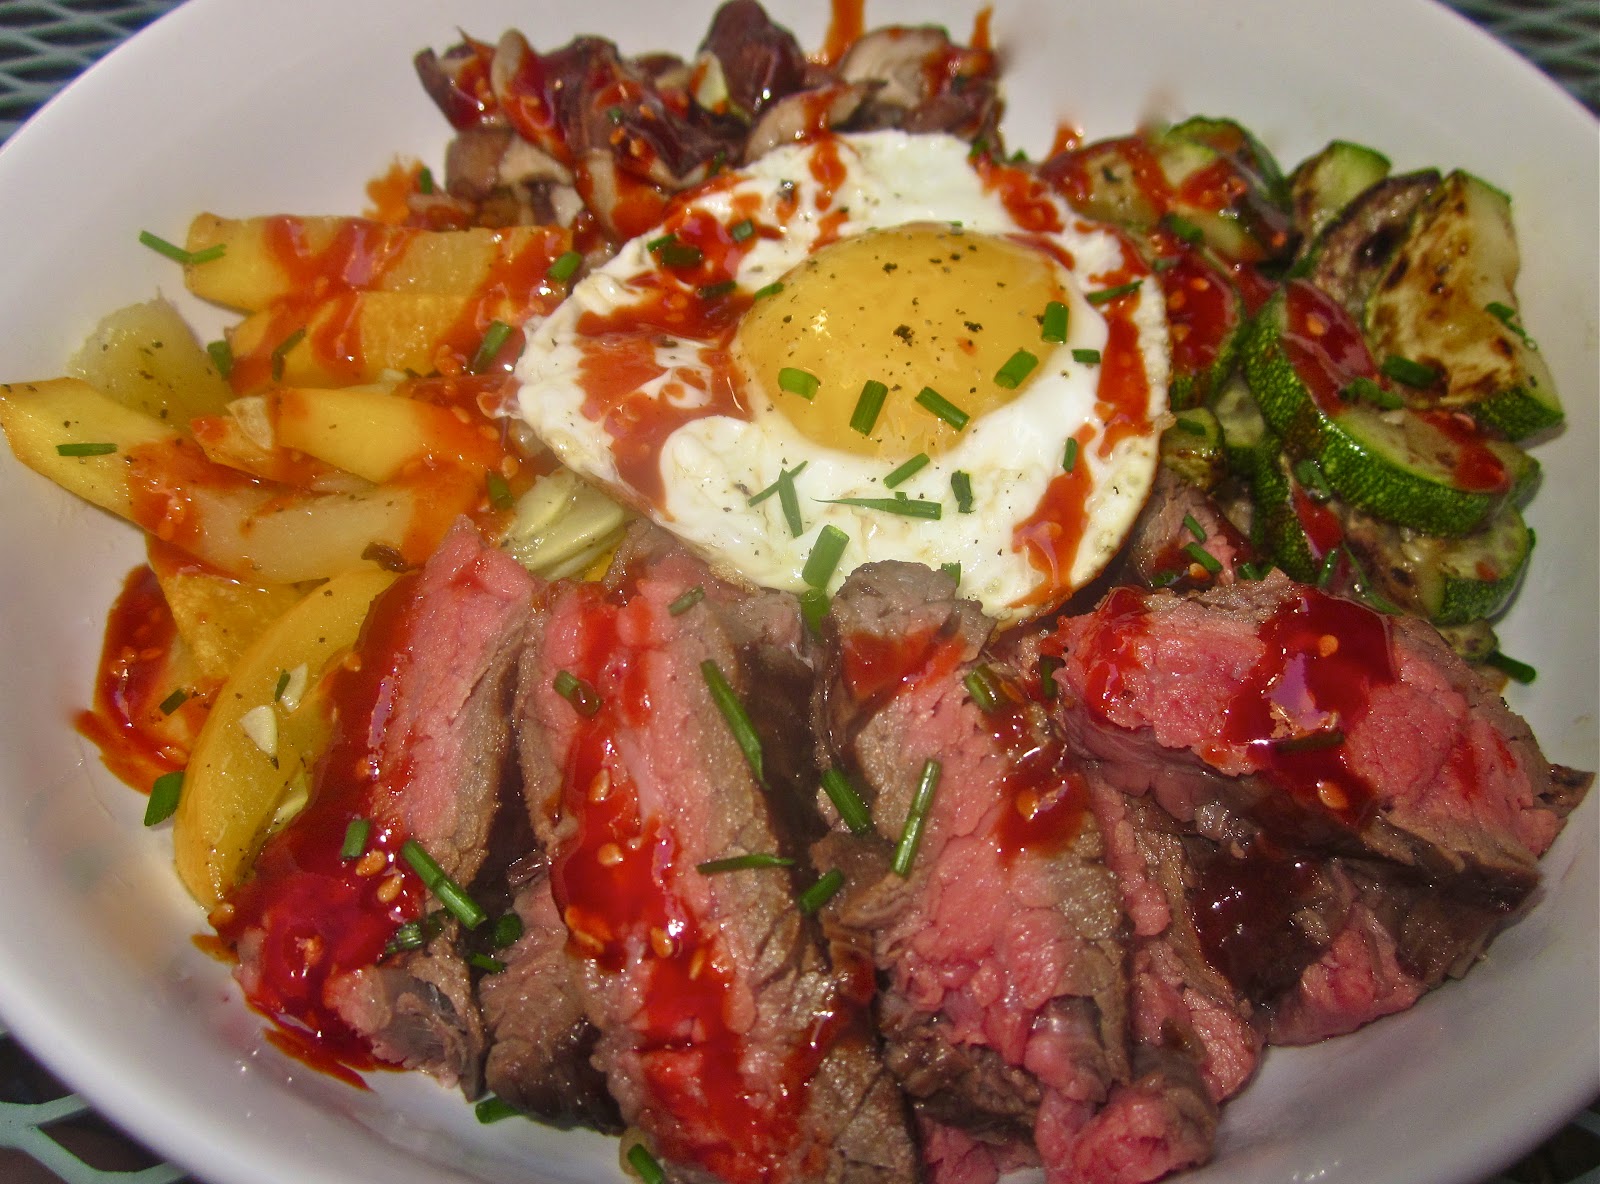
And here's the last recipe to kick off our week of Asian dishes! Remember how I mentioned on Wednesday that I would post my Sticky + Garlicky Korean Beef Noodles? Well, here they are! There are very few recipes that we make more than once. My husband hates me for that because I'll make something so delicious, and then when he requests it again, I have to tell him that I've already made that and I'm a food blogger who needs to constantly come up with new recipes for all of my followers! However, there are a few exceptions to that argument, and one of them is certainly this Asian pasta dish. We have made these Korean Beef Noodles every week for the last six months! We think it's pretty easy-peasy to make and it makes enough to feed an army! The sauce is pretty straight forward, as I already went into how to make it on my post for the Asian Chicken Lettuce Wraps with Sweet + Salty Sauce (literally, it is the exact same sauce). As for the pasta, I really love to use Trader Joe's Pappardelle Pasta for this recipe, but honestly, any kind of noodles will do! The most important cooking process is by far the beef component. I start off by cooking the ground beef in a cast iron skillet until it has just barely finished cooking, and then I drain the excess fat out of the pan, using a pasta strainer. While the beef is separating from the extra fat and liquid, wipe down the cast iron skillet, so that it is completely dry. Return the skillet to your stovetop and crank up the heat to as high as it will go. Once it is screeching hot, add the ground beef back in, along with the minced garlic. Quickly pour in half of the sweet + salty sauce and stir to coat the ground beef. I find that if you cook this at a very high heat, the sauce will perfectly caramelized onto the meat and deepen the flavor. Really all that is left to do is to combine all of the components... al dente pasta, caramelized onions, charred green onions, minced green onions, sweet + salty sauce, caramelized ground beef, + seasonings. We really like to overdo it with the minced, dried garlic, toasted sesame seeds, and red pepper flakes, so I'll leave that up to you on how much you want to put in. Now all you have to do is eat the Sticky + Garlicky Korean Beef Noodles while they are still hot!! Enjoy :)

For the Sweet + Salty Sauce:
1C Light Brown Sugar
½C Soy Sauce
¼C Hoisin Sauce
1T Toasted Sesame Oil
1-2T Sriracha (depending on how spicy you like it)
1T Rice Wine Vinegar
1t Freshly Grated Ginger
1t Red Pepper Flakes (less or more to your preferred
spiciness)
4 Large Cloves of Garlic, Minced
For the Caramelized Onions:
2 Vidalia Onions, Sliced
4T Unsalted Butter
2T Vegetable Oil
1t Kosher Salt
1T Sugar
For the Korean Beef Noodles:
1T Canola Oil
2 Bunches of Green Onions (1 bunch finely sliced + 1 bunch
cut into 1-inch pieces)
1T Toasted Sesame Oil
2-3lbs 80/20 Ground Chuck
4 Large Cloves of Garlic, Minced
16oz Pappardelle Noodles (I like Trader Joe’s brand, but
really any kind of pasta will work)
2T Korean Chili Seasoning
Prepared Sweet + Salty Sauce
Prepared Caramelized Onions
2T Minced, Dried Garlic (or to taste, but we love adding a
bunch to this pasta)
1T Toasted Sesame Seeds
1t Red Pepper Flakes (this is optional, but you can add more
or less to your liking)
Directions:
1. For the Sweet + Salty Sauce: In a small pot, whisk
together all of the sauce ingredients until it is well incorporated. Bring the
sauce to a boil over medium-low heat, making sure to continuously whisk. Reduce
to a simmer and cook for another 1-2 minutes. Turn off the heat and let the
sauce cool for a few minutes. Repeat this process of bringing it to a boil and
simmering the sauce three more times. After you have done this, allow the sauce
to cool while you make the Korean Beef Noodles.
2. For the Caramelized Onions: Heat the butter and oil
in a large soup pot over medium heat. Add in the sliced onions, salt, and
sugar. Cook for 10 minutes, and then reduce the heat to medium-low and continue
to caramelize, stirring occasionally, for 20 more minutes. The onions should be
browned and caramelized. If at all during the cooking the onions begin to
darken or burn, just add a few tablespoons of water. After they are done, turn
off the heat and leave the caramelized onions in the pot.
3. Charring the Green Onions: In a cast iron skillet,
over high heat, add in the canola oil. Take the one bunch of green onions that
were cut into 1-inch pieces (leave the other bunch of thinly sliced green
onions uncooked) and put them in the searing hot pan. Stir the onions around
for a minute or two until they have begun to char and slightly soften. Remove
the charred green onions from the pan and place them into the pot with the
caramelized onions.
4. Preparing the Pasta: Boil your pasta according to the package
directions. Once they have cooked to al dente, strain the noodles and add them
into the pot with the onions. Sprinkle the Korean chili seasoning on top of the
pasta and toss to combine all of the ingredients in the pot (that way the
noodles won’t stick together).
5. Cooking the Ground Beef: Heat 1T of toasted sesame
oil, in the same cast iron skillet that you charred the green onions in, over
medium-high heat. Add in the ground beef and cook until just browned, about 5
minutes. Make sure to crumble the beef as it cooks, so smaller pieces form.
Drain the excess fat out of the pan. Return the cast iron pan to high heat.
Once it has gotten extremely hot, add the cooked, crumbled beef back into the
pan, along with the garlic. Stir this mixture around for 1-2 minutes. Quickly
pour half of the sweet + salty sauce over the ground beef and cook for another
1-2 minutes. Cooking at such a high temperature will help the sauce to
caramelize into the beef and deepen the flavor.
6. Finishing the Korean Beef Noodles: Pour the sauced, caramelized
beef over the pasta in the large pot, and then drizzle in the remaining sweet +
salty sauce and add in the finely sliced green onions. Using tongs, toss
together all of the ingredients until they are evenly incorporated. Season the
pasta with the dried minced garlic, toasted sesame seeds, and red pepper flakes.
Mix everything together and serve while the noodles are still hot!