 |
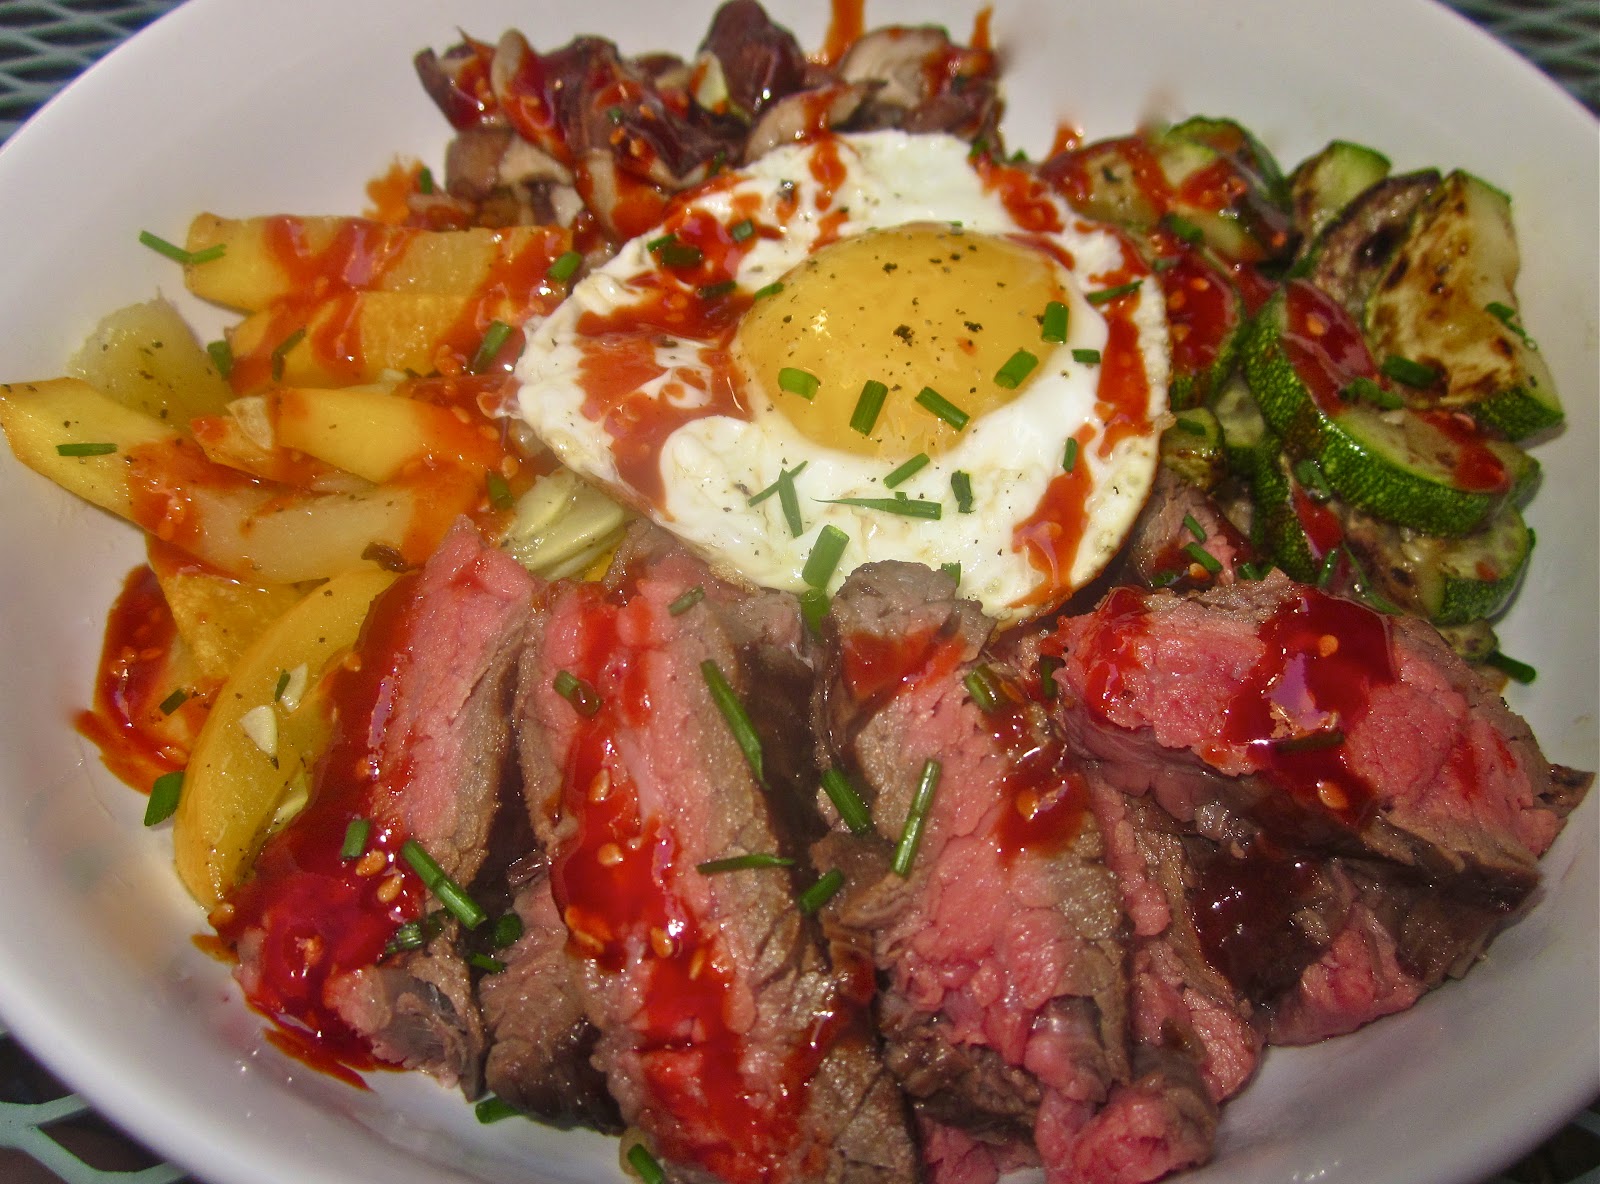
| Bibimbap with Asian Marinated Flank Steak |
 |
| Don't Forget the Fried Egg + Sweet Gochujang Sauce! |
For the Asian Marinated Flank Steak:
½C Soy Sauce
½C Cooking Sherry
4T Honey
2T Sesame Oil
2T Fresh Ginger, Minced
3 Cloves Fresh Garlic, Minced
½t Crushed Red Pepper Flakes
1 Whole Flank Steak
Hoisin Sauce, For Glazing
For the Kimchi Fried Rice:
1t Sesame Oil
1T Vegetable Oil
1T Chili-Garlic Sriracha
3 Slices of Thick Cut Bacon, Cut into Small Pieces & Fried until Crispy
2 Cloves of Garlic, Minced
3 Green Onions, Thinly Sliced
2T Soy Sauce
¾C Kimchi, Chopped
3C Leftover White Rice
For the Sweet Gochujang Sauce:
1T Gochujang & Rice Wine Vinegar
1T Honey
1t Soy Sauce, Brown Sugar, Sesame Oil
1t Toasted Sesame Seeds
For the Bibimbap:
Prepared Kimchi Fried Rice
Asian Marinated Flank Steak, Thinly Sliced
Sautéed Carrots, Zucchini, Fried Spinach Bean Sprouts, & Mushrooms
Fried Eggs
Fresh Minced Chives or Green Onions, For Garnishing
Prepared Sweet Gochujang Sauce, For Drizzling
Directions:
1. To Marinate the Asian Flank Steak: Combine all of the ingredients in a mixing bowl and whisk until incorporated. Remove the flank steak from the package and rinse it off. Place the meat into a plastic big and pour the marinade over the meat. Refrigerate for at least 6 hours or overnight preferably. Remove the steak from the marinade and place on a plate, and let it come to room temperature, about 1 hour.2. To Cook the Asian Flank Steak: Heat a grill pan on high heat. When the pan is extremely hot, place the steak on a slight angle. Cook without touching for about 2 minutes. Rotate the meat about 45 degrees, keeping it on the same side, and cook for another 1-2 minutes. Flip the meat over and cook it using the same method used previously, and for a total cook time of 5-8 minutes for medium-rare. Glaze the meat with the hoisin sauce while the meat is cooking. Remove the meat to a cutting board and let it rest for 10 minutes before slicing. Once it has rested, thinly slice the meat against the grain. Keep it warm until ready to serve.
3. To Make the Kimchi Fried Rice: In a medium bowl, combine the rice and chili-garlic sauce. Mix until the rice is evenly covered in the sauce, set aside. In a large fry pan or wok, heat the oil over medium-high heat. Add the garlic and green onions until fragrant, about 2 minutes. Add the rice and mix everything together well. Use a spatula to flatten the rice against the pan, and keep still for about 3 - 5 minutes to let the rice get crispy. Repeat until the rice is evenly crispy. Next, add the soy sauce and sesame oil, adding more to taste, stir well. Mix in the crumbled bacon and chopped Kimchi. Keep warm until ready to serve.
4. To Make the Gochujang Sauce: Mix all of the ingredients in a bowl until smooth and incorporated. Refrigerate until ready to use.
5. For the Bibimbap: Scoop some of the Kimchi fried rice into a large bowl. Top the rice with all of the sautéed vegetables & sliced flank steak around the bowl, leaving a spot in the middle. Place the crispy soft poached egg in the center. Garnish with a drizzle of the Gochujang sauce on top of all the components. Serve warm.