|
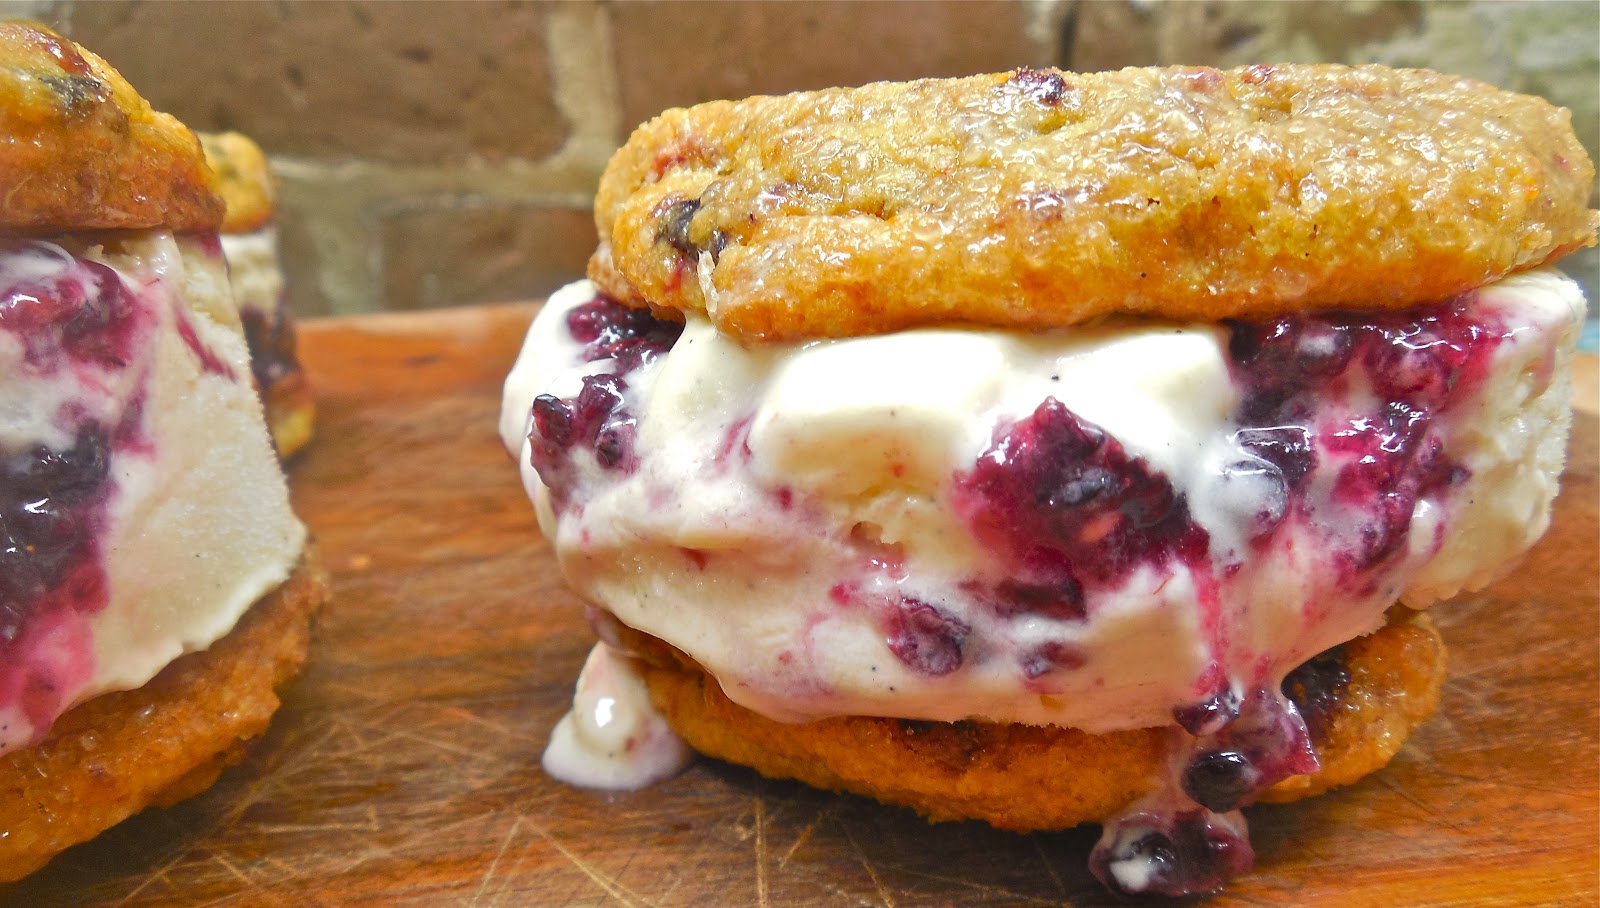
| Summer Staples : Roasted Summer Berry Swirled Buttermilk Ice Cream Sandwiches with Rehydrated Berry-Sweet Corn Cookies + Lemon Curd Center |


For the Roasted Summer Berry Swirled Buttermilk Ice Cream:
1 Stick Unsalted Butter, Melted & Cooled Slightly
2C Heavy Cream
1C Buttermilk, Well-Shaken
6 Egg Yolks
1C Sugar
½t Salt
2T Buttermilk Powder, Sifted
1t Vanilla
2T Vanilla Bean Infused Rum (or any kind of infused booze that is clear)
1 Whole Vanilla Bean, Split & Scraped for Seeds
Homemade Roasted Summer Berry Jam (or any other kind of preserves may be used)
Homemade or Store-Bought Lemon Curd, For the Center Filling
For the Rehydrated Berry-Sweet Corn Cookies:
2 Sticks of Unsalted Butter, Room Temperature
1 ½C Sugar
1 Egg
1 1/3C AP Flour
¼C Corn Flour
2/3C Freeze Dried Corn Powder
¾t Baking Powder
¼t Baking Soda
1 ½t Salt
½C Each of Dehydrated or Freeze Dried Berries (blueberries, raspberries, & strawberries)
2-3T Vanilla Bean Infused Rum (or just enough to barely rehydrate the berries until soft)
Raw Bourbon Vanilla Sugar, For Rolling the Cookies in
Directions:
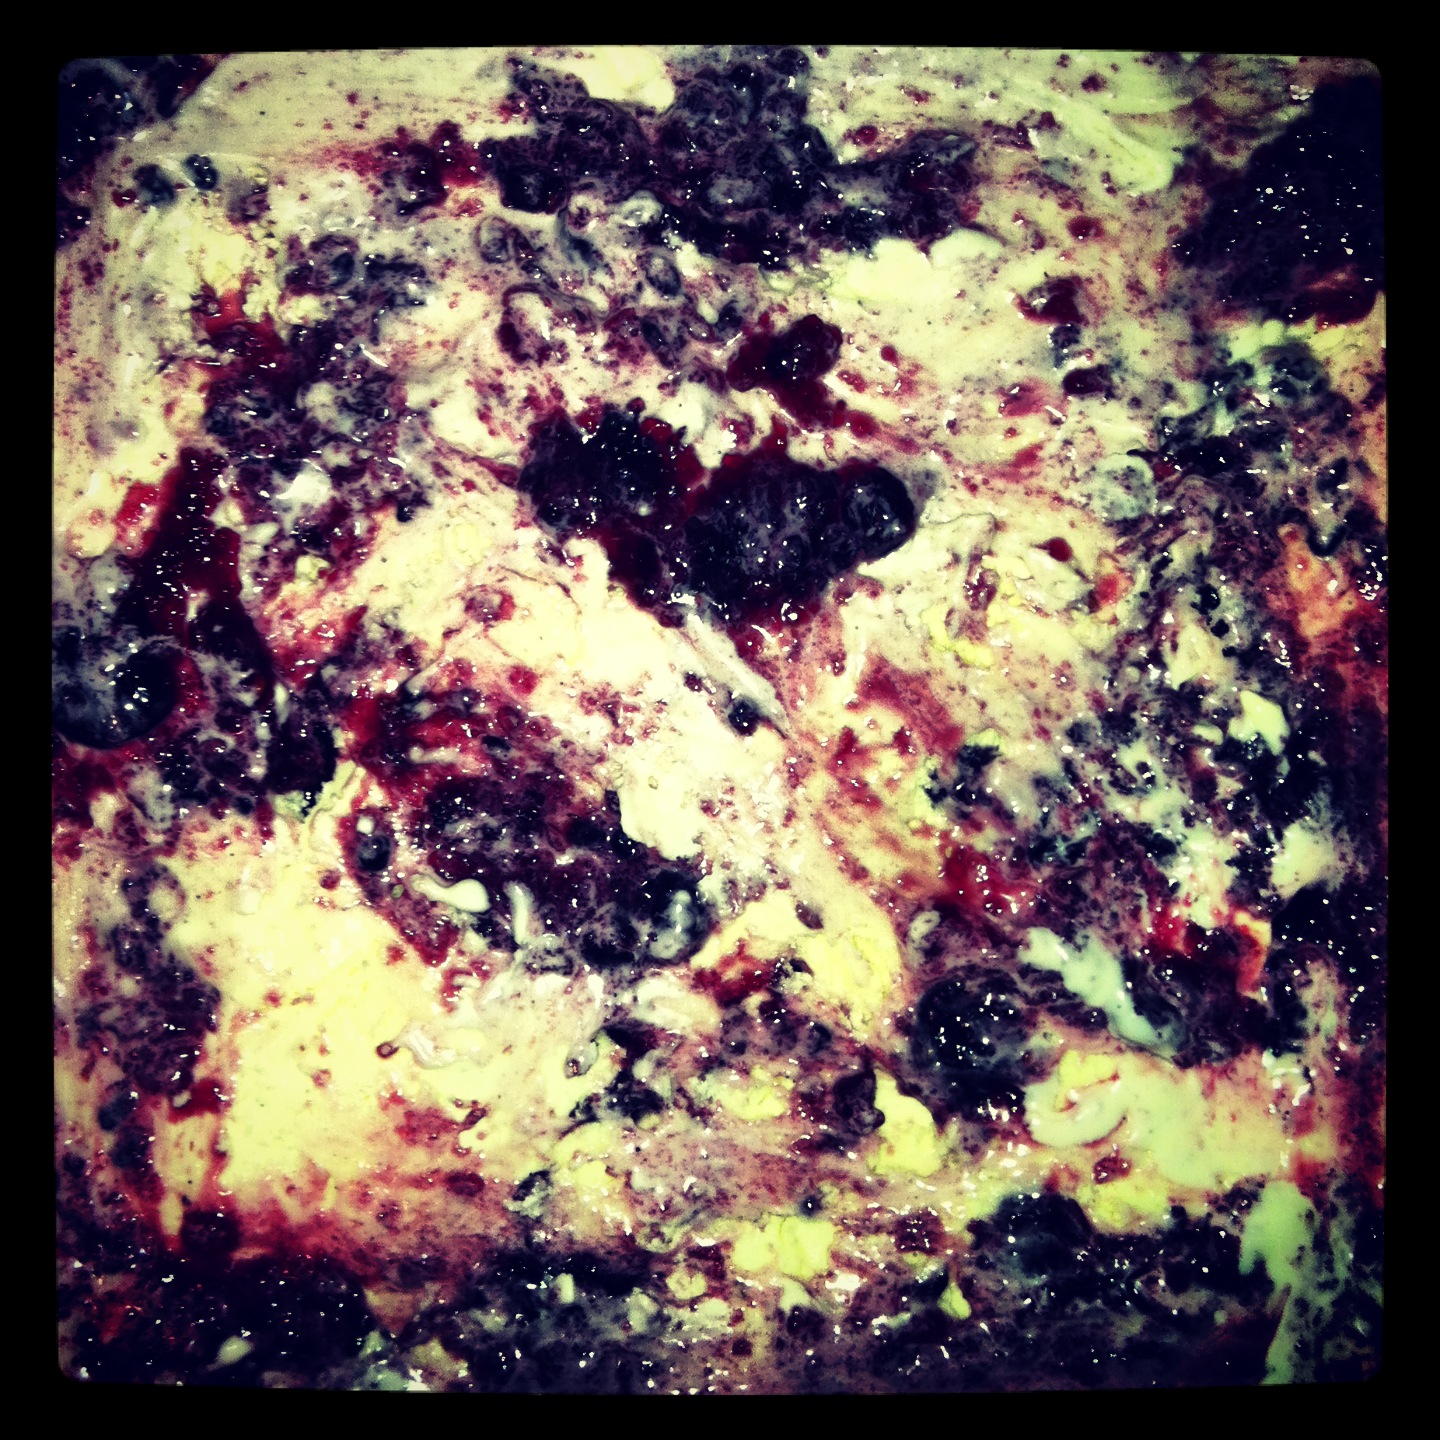
1. For the Roasted Summer Berry Swirled Buttermilk Ice Cream: In a saucepan, bring the cream, buttermilk, sifted buttermilk powder, vanilla bean pods, and vanilla bean seeds to a simmer. In a bowl, whisk together the egg yolks, sugar, and salt until fluffy. Slowly whisk in the melted butter. Once combined, gradually and slowly into the simmering milk. Pour this mixture back into the saucepan and cook over low heat, until thickened (it should coat the back of a spoon). Strain the custard into a bowl that is placed into an ice bath. Stir in the vanilla bean infused rum and vanilla. Cool the custard base until completely chilled. Once the mixture is chilled, freeze in an ice cream maker according to the manufacturer’s instructions. As soon as the mixture is done churning, pour or scoop in one-third of the ice cream into a large container, and then spoon some of the summer berry preserves on top of the ice cream. Using the spoon, smooth it out into any even layer and swirl it some for a pretty marbling effect. Repeat this process until all of the ice cream and preserves have been use. Once it has been assembled, store in the freezer until firm, at least 4 hours.
2. For the Rehydrated Berry-Sweet Corn Cookies:In a small bowl combine the dried summer fruit with the vanilla bean infused rum. Using a spoon, toss the berries and liquid together until they are completely coated. Let them sit and plump up while you make the cookie dough batter. Combine the butter and sugar in the bowl of a standing mixer, fitted with the paddle attachment, and cream together on medium-high for about 2 to 3 minutes. Scrape down the sides of the bowl, add the egg, and beat for 7 to 8 minutes. Reduce the mixer speed to low and add the flour, corn flour, corn powder, baking soda, baking powder, and salt. Mix just until the dough comes together, beat no longer than 1 minute. Scrape down the sides of the bowl. Add in the rehydrated berries and gently beat them in until they are just incorporated. Using an ice cream scoop, portion out the cookie dough onto a Silpat-lined sheet pan. Pat the tops of the cookie dough balls until they are flat on top. Wrap the sheet pan tightly in plastic wrap and refrigerate for about 12-24 hours. Do not bake your cookies from room temperature or they will not bake up properly.
3. Baking the Cookies:Remove the chilled cookie dough balls from the refrigerator and immediately roll them in the raw sugar (this will give them a crackly crust, yet chewy interior). Heat the oven to 350 degrees. Arrange the chilled dough a minimum of 4 inches apart on Silpat-lined sheet pans. Bake for 18 minutes. The cookies will puff, crackle, and spread. After 18 minutes, they should be faintly browned on the edges yet still bright yellow in the center; give them an extra minute if not. Cool the cookies completely on the sheet pans before transferring to a plate or to an airtight container for storage. At room temp, the cookies will keep fresh for 5 days.
4. Preparing the Ice Cream Center:Using a doughnut cookie cutter, cut out rounds of the buttermilk ice cream. And then using a knife or spoon, push or scoop out the center of the ice cream. Place the hollowed out rounds onto parchment paper and freeze them again to re-harden or re-firm the texture of the ice cream. Once it has frozen again, place the ice cream rounds onto a cookie and spoon some lemon curd into the hollowed out center. Top with another cookie and enjoy before it melts!