Monday, April 30, 2012

Honey-Habanero Margaritas

This week, I have decided to have to post Mexican recipes as a theme for Cinco de Mayo that is coming up this weekend. I'll be posting some awesome, over-the-top fried fish tacos, coconut tres leches cake, and this Honey-Habanero Margarita recipe. I know that some of y'all don't like spicy food, but we just love it. So, when we went to one of the Mexican restaurants downtown, and they had a Honey-Habanero Margarita as the special for the day, we just had to try it. And we loved it! So, I knew I had to make my own version. The margaritas are spiced up with a homemade honey & habanero simple syrup, and then shaken with some fresh lime juice, tequila, triple sec, and some ice. These festive drinks are a great way to spice up your Cinco de Mayo parties this weekend... if you can handle it!! Enjoy :)
Honey-Habanero Margarita
For the Honey-Habanero Simple Syrup:
1C Water
1C Honey
1-2 Fresh Habanero Peppers, Cut in Half & Stems Removed

For the Honey-Habanero Margaritas:
3 Limes, Zested & Juiced
2oz Tequila
1oz Triple Sec
2oz Prepared Honey-Habanero Simple Syrup
Crushed Ice
Salt, For Rimming
Lime Slices, For Garnish

Directions:
1. For the Honey-Habanero Simple Syrup: Place the honey and water in a medium saucepan and bring it to a boil, and simmer until the honey is completely dissolved. Turn off the heat and add in the freshly habanero peppers (halved & stems removed). Cover and let it steep for 3 hours. Strain the syrup through a mesh sieve into a bowl, discarding the solids. Pour in the syrup into a container and let it cool completely in the refrigerator until chilled.
2. For the Honey-Habanero Margaritas: Zest and juice the 3 limes into a cocktail shaker, and then add in the tequila, triple sec, honey-habanero simple syrup, and some crushed ice. Shake until thoroughly mixed and cold. Rim a glass with salt, and then fill it with more ice. Pour the shaken margarita mixture over the ice. Garnish with a slice of lime. This only makes one drink. 


Saturday, April 28, 2012

Grilled Peach, Chorizo, & Caramelized Onion Pizza with Crumbled Goat Cheese & Fresh Basil

Grilled Peach, Chorizo, Caramelized Onion Pizza with Crumbled Goat Cheese & Fresh Basil
Today was an awesome day. It's kinda one of those days that makes me happy to be living in Savannah. We woke up early and grabbed our pup, and headed out to Forsyth Park for the annual Sidewalk Arts Festival hosted by SCAD. After the festival, we went to the Farmer's Market and got some fresh popsicles and organic pork belly (can't wait to use that). And then, we ended the day with that delicious pizza pictured above. Anyway, if you haven't heard of SCAD, it stands for the Savannah College of Art & Design, and it is considered one of the top art schools in the country. Well, every year, SCAD hosts a variety of events to showcase their students' art. One of my hands down favorite events is the Sidewalk Arts Festival. SCAD undergraduates, grad students, and alumni are invited to come chalk a square of the sidewalk of Forsyth park with any image they can think of. It's really amazing some of the ideas they come up with and how life-like they turn out. They have a few hours to complete their square before judges go around and pick their favorite art works. Here are a few of my favorites...


Aren't those awesome?! Well, after our long day at the park, we came home and made the oddest, yet most delicious pizza, ever. Yeap, it had grilled peaches, chorizo, caramelized onion, goat cheese, and basil. And it was ridiculous, but perfect for a hot summer night. The peaches are grilled which give them a nice smokiness and tartness. I know you would think peach on a pizza sounds bizarre, but it really is similar to pineapple, and pineapple on pizza=good. I loveeeee the chorizo because it's spicy and salty and everything yummy. And, I'm a sucker for goat cheese, so don't leave that out either. Just don't leave any of the components out, really. They balance each other out so nicely. Trust me. Well, I hope y'all are havin' a great saturday night wherever y'all are!! Enjoy :)
Peach-Chorizo-Goat Cheese Pizza... "the perfect summer pizza"
For the Grilled Peaches:
2 Medium Peaches, Sliced
1T Honey
1T Olive Oil

For the Pizza:
Homemade or Store-Bought Pizza Dough
Olive Oil
4oz Cantimpalo Chorizo, Slices
Grilled Peach Slices
4oz Fresh Goat Cheese, Crumbled
1 Medium Sweet Onion, Sliced & Caramelized until Crispy (I like mine slightly crunchy)
Fresh Basil, Chiffonade
Salt & Pepper, To Taste

Directions:
1. For the Grilled Peaches: Toss the peach slices in the honey and olive oil until lightly coated. Preheat a grill pan to high heat and sear the slices of peaches until grill marks appear, about 1-3 minutes, depending on your grill (but do not overcook the peaches too much or they will be mushy). Set it aside until ready to layer onto the pizza dough.
2. Making the Pizza: Preheat the oven to 500 degrees or broil as high as your oven will go. Spread the pizza dough out onto a baking sheet or pizza tray. Drizzle the dough lightly with olive oil and sprinkle a little bit of salt and fresh cracked pepper. Lay the chorizo slices across the dough, followed by the grilled peach slices, and then sprinkle the crumbled goat cheese on top of the peaches. Bake the pizza for 10 to 12 minutes, or until the crust is golden brown and the toppings are crispy. Remove from the oven and immediately scatter the crispy, caramelized onions on top of the pizza.
3. Just before serving, garnish the pizza with fresh basil. Cut into squares or slices and serve immediately. 

Thursday, April 26, 2012

Crab Cake & Pepperjack Grit Cake with Shrimp Etouffee Gravy & Green Onion Vinaigrette

My Mountain Man loves him some Shrimp & Grits, so of course, that's what he requested for his birthday dinner. I didn't want to make him something that I had already made before because well, it's his birthday. So, I came up with a new version of his favorite dish. It included a crazy grit cake, topped with a crab cake,  and then it's surrounded by a classic shrimp etouffee sauce and a green onion vinaigrette. It was everything he would ever want in a meal. And he absolutely loved every bite. You could easily leave out the crab cake, and just top the grits with the delicious shrimp etouffee (and it would be a lot simpler too). It's a great ole' Southern meal for my great ole' Southern boy!! Enjoy :)
Crab Cake & Grit Cake with Shrimp Etouffee Gravy & Green Onion Vinaigrette


For the Pepperjack Grit Cakes:
2 ½C Chicken Stock
1C Heavy Cream
1C Stone Ground Grits
2T Butter
1 ½C Pepperjack Cheese, Shredded
Salt & Pepper, To Taste
1C AP Flour
1 Egg + 2T Milk
1C Panko Breadcrumbs
Vegetable Oil, For Frying

For the Green Onion Vinaigrette:
1C Green Onions, Coarsely Chopped
¼C Red Wine Vinegar
2 Serrano Chiles
2T Mayo
Salt & Pepper, To Taste
½C Olive Oil

For the Crab Cakes:
1lb Crabmeat, Picked Free of Shells
½C Crushed Crackers
¼C Fresh Chives, Finely Sliced
½C Red Bell Pepper, Finely Chopped
¼C Mayo
1 Egg
1t Worcestershire Sauce & Dry Mustard
1T Lemon Juice
¼t Garlic Powder & Cayenne
Salt & Pepper
½C Flour
1 Egg + 2T Milk
1C Panko Breadcrumbs
Vegetable Oil, For Frying      

For the Shrimp Etouffee Gravy:
½lb Shrimp, Peeled & Deveined
1T Unsalted Butter
2 Garlic Cloves, Minced
½C Sweet Onion, Chopped
½C Red & Green Bell Pepper, Chopped
3T Tomato Paste
  
Directions:
1. For the Pepperjack Grit Cakes: Bring the chicken stock and heavy cream to a boil. Add in the stone ground grits in a thin stream, whisking constantly to avoid lumps. Reduce heat to a simmer and cook for 15 minutes (adding salt & extra liquid if needed). When the grits are done, whisk in the butter and pepperjack cheese. Season with salt and pepper, and serve with the shrimp. Pour the grits into a buttered dish and chill in the refrigerator until solidified and compact. Using a biscuit cutter, cut the grits into rounds. Now, place the grit cakes into the flour mixture, then into the egg wash, and finally into the panko (making sure they are completely covered). Heat the vegetable oil over medium-high heat in a deep sauté pan. Fry the cakes until golden brown and crispy, about 2-3 minutes on each side. Remove the cooked cakes from the oil and place on a paper towel to drain. Keep them warm while you cook the other components.
2. For the Green Onion Vinaigrette: Blend the green onions, vinegar, chiles, mayo, salt, pepper, and oil in a blender until emulsified. Refrigerate the vinaigrette until ready to serve.
3. For the Crab Cakes: In a large bowl, mix together all of the ingredients, except for the flour, panko, and peanut oil. Shape into patties and dust with the flour. Put the crab crakes onto a baking sheet and chill in the refrigerator for an hour. Make a battering station, one container with the egg and milk and another with the panko breadcrumbs. Once chilled, coat the crab cakes in the egg wash and follow with a crust of panko. In a large skillet over, heat the oil over medium high heat. When the oil is hot, carefully place the crab cakes, in batches, and fry until browned, about 4-5 minutes. Carefully flip the crab cakes and fry on the other side until golden brown, about another 4 minutes.
4. For the Shrimp Etouffee Gravy: Heat the butter in a large sauté pan over medium-high heat. Add the shrimp and cook until browned, about 2 minutes. Remove the shrimp from the pan, and then add in the garlic, onion, and pepper and cook until softened. Whisk in tomato paste and thyme and cook for 3 minutes. Add reserved 2 cups of shrimp stock; reduce heat to a simmer, cook for 5 to 7 minutes or until sauce has reduced to desired consistency. Season with salt and pepper to taste. Keep warm until ready to serve. When you are ready to serve, add the shrimp back into the gravy mixture and spoon it around the cakes (this is so the shrimp won’t overcook).
5. Assembling the Dish: Place a crispy grit cake in the center of a serving plate, and then stack a crab cake on top of the grit cake. Spoon some of the Shrimp Etouffee Gravy around the cakes. Drizzle the Green Onion Vinaigrette on top of the plate.

Tuesday, April 24, 2012

Stacked Fried Green Tomato BLT Salad with Candied Bacon & Buttermilk Ranch Dressing


Before I get to the salad that I made as a part of my Mountain Man's birthday dinner, I have to tell a story. There's a running joke in our family about my father and I. It all started with him, but he has graciously passed this gift down to me, so I can carry out the legacy. Anyways, throughout my father's life, he always had an incredible knack for putting himself in the oddest, craziest situations. They just kind of fall into his lap. For instance, one time, my dad was at the gas station, sitting in the passenger seat (while my mom was inside getting some snacks), and a random lady just jumps into the car with him and furiously drives off. My dad is sitting in the car, jaw to the floor, like "what just happened here, am I being kidnapped"... So, finally the woman notices that this was not her car, and that man sitting beside her is not her husband. She was so embarrassed that she drove him back to the gas station and insisted that she pay for his gas. This all occurred before my mom even returned to the car, so she still refuses to believe that this crazy thing that my father had told her, really happened. Okay, so now you have gotten the background info... fast-forward to my life. I am sitting in my apartment in downtown Savannah and I decide to go into my room to do something (I have now forgotten what I was actually doing in there, but that is really relevant). I'm all by myself, just minding my own business, my Mountain Man is at work, la-tee-dah. I suddenly hear the door open and close. I automatically think it's the boyfriend, so I finish what I'm doing and I finally start making my way towards the front door. But, I catch a quick glimpse into the living room through our bedroom door, and I see a woman sitting on my couch, feet up on the table, going through our saved DVR shows. Like NBD, just chillin' in a someone's apartment. At this point, I'm terrified because either this person is coming to rob me, or steal me, or she's just bat-shit crazy and wants to be my best friend. So, I knock on the bedroom door, in hopes of startling her, and she just calmly looks up at me and says "oh my god, I'm so sorry". That's it. She turns the TV off, grabs her purse, and walks out the door. I mean honestly this happened to me. And no one was here to witness it. I immediately called my dad because I knew only he would appreciate it. Of course no one believes me. But, I know that this crazy situation happened, and I still just can't get over it. Priceless. Anyway, back to the food. For my Mountain Man's birthday, I made a Stacked Fried Green Tomato BLT Salad with Candied Bacon & Buttermilk Ranch Dressing. This salad is inspired from the ever-popular Savannah restaurant, the Olde Pink House. It was actually featured on The Best Thing I Ever Ate, and it is the only thing I order when we go. I mean, what's better than fried green tomatoes, candied bacon, and ranch? I refuse to believe anything is. This salad hits the spot and it's the perfect little opener for an awesome dinner!! Enjoy :)
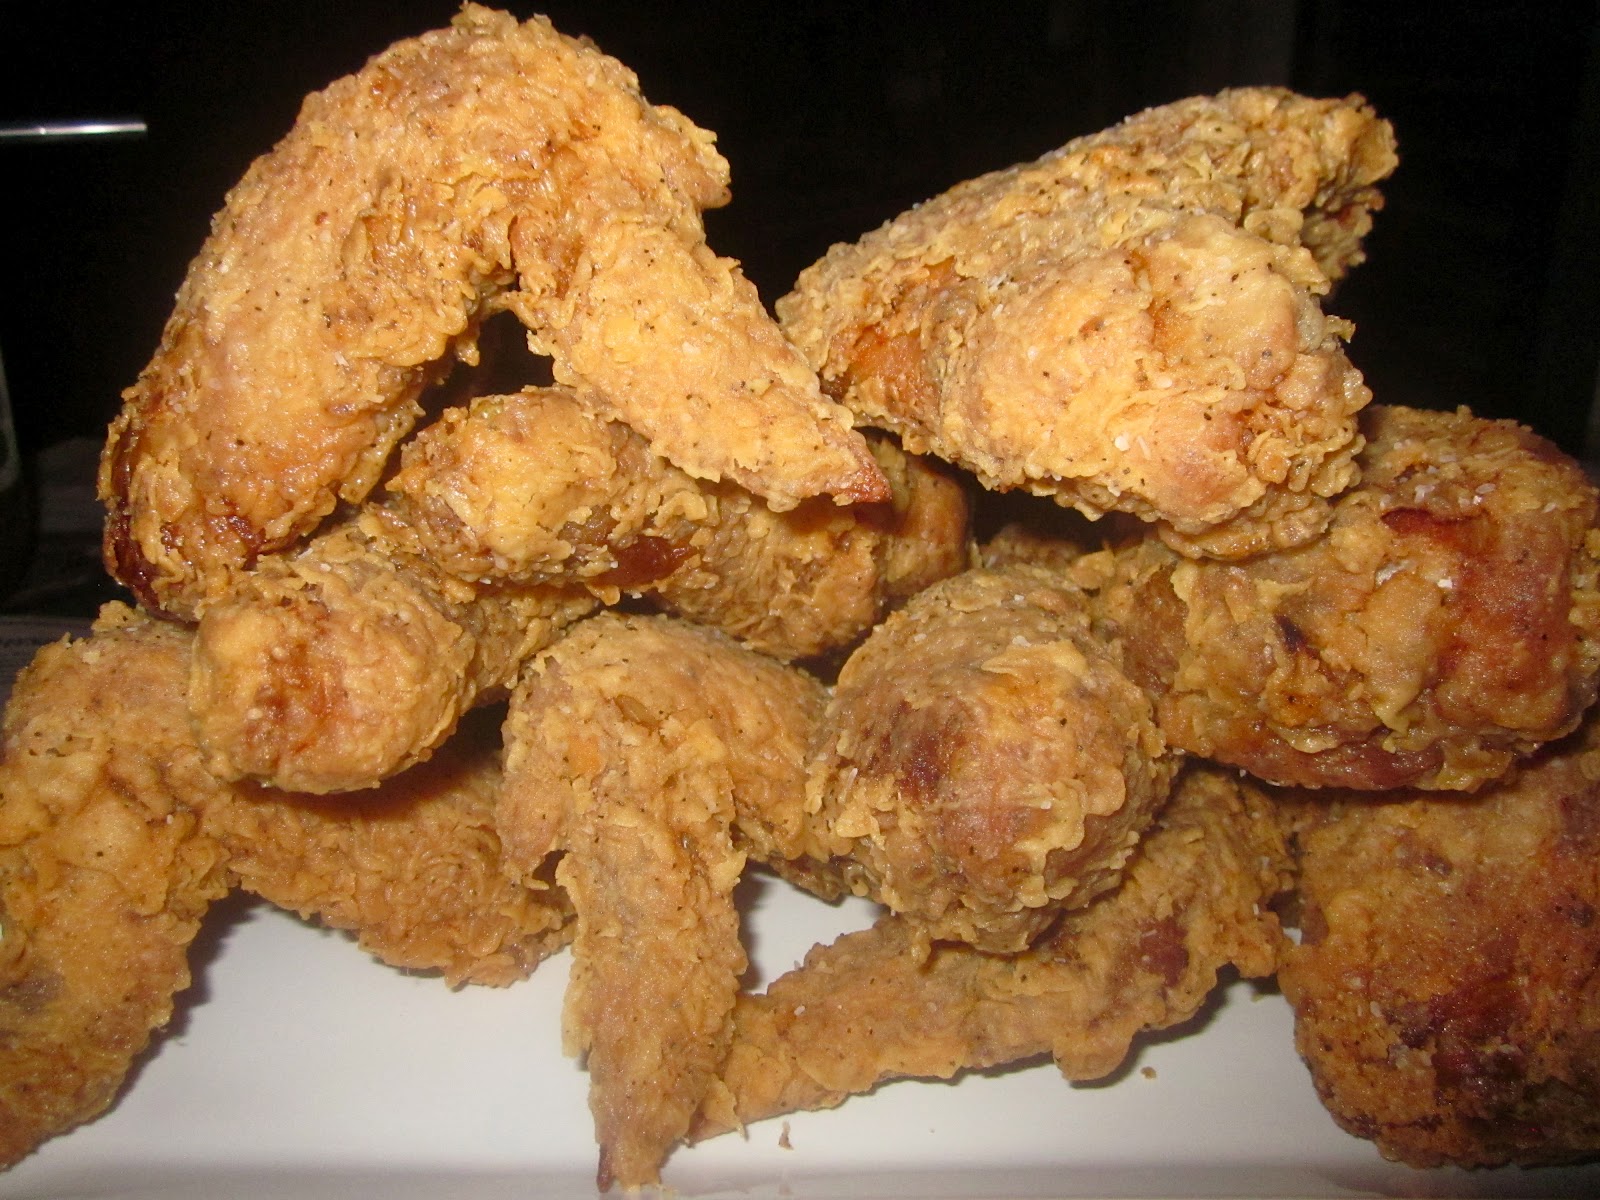
Fried Green Tomatoes + Candied Bacon... Nothin' Better
Stacked Fried Green Tomato BLT Salad with Candied Bacon & Buttermilk Ranch Dressing

For the Buttermilk Ranch Dressing:
½C Buttermilk, Well Shaken
¼C Sour Cream
¼C Mayo
4T Apple Cider Vinegar
1 Large Shallot, Minced
1T Garlic, Minced
1T Sugar
4T Fresh Chives, Finely Minced
2T Fresh Dill, Finely Minced
1T Fresh Parsley, Finely Minced
Salt & Pepper, To Taste

For the Candied Bacon:
8 Strips of Thick Applewood Smoked Bacon
2t Light Brown Sugar (per slice of bacon)

For the Fried Green Tomatoes:
2 Green Tomatoes, Cut into ½inch Thick Slices & Patted Dry
1Q Peanut Oil, For Frying
2C AP Flour
1T Paprika
1T Chili Powder
1T Cajun Seasoning
1T Salt
3 Eggs
½C Buttermilk
1T Hot Sauce
1 Box of Panko Breadcrumbs
Salt, For Sprinkling

For the BLT Salad:
Fried Green Tomatoes
Baby Spring Mix
Prepared Buttermilk Ranch Dressing
Candied Bacon
Diced Red Bell Pepper & Minced Green Onions, For Garnishing

Directions:

1. For the Buttermilk Ranch Dressing: Whisk together all of the ingredients in a large bowl until the sugar has dissolved, and then add in the chives. Whisk until smooth and refrigerate until ready to toss with the lettuce.
2. For the Candied Bacon: Preheat the oven to 400 degrees. Lay the strips of bacon on a baking sheet lined with a silicone mat. Sprinkle each slice of bacon with 2t of brown sugar. Bake for 12-16 minutes. Midway, flip the bacon over and drag them through the dark, syrupy liquid that’s collected on the baking sheet. Continue to bake until it is as dark as mahogany. Remove from the oven and cool the strips on a wire rack. Once the bacon is cool and crisp, chop into cubes.
3. For the Fried Green Tomatoes: Slice the tomatoes to about ½inch thick and place the slices on a paper towel and sprinkle with salt. Let the tomatoes drain for 15-30 minutes. After they have drained, dry the tomatoes a little more with some paper towels, removing any excess moisture. Next, you have to set up a battering station. I use 3 pie tins. For the first station, I mix the flour & the seasonings. For the second station, I whisk together the eggs, buttermilk, and hot sauce. For the third station, pour the contents of one box of Panko breadcrumbs. Now, place the slices of dried green tomato into the flour mixture, then into the egg wash, and finally the panko (making sure they are completely covered). Put the breaded slices on a tin foil-lined baking sheet with a cooling rack on top, and then put the pan into the refrigerator and let the slices rest for about 15-30 minutes. Heat your deep fryer to 375 degrees with the peanut oil. Once the oil has heated, pull the chilled slices out of the refrigerator. Fry the slices for 4-7 minutes each (depending on the size of your fryer, mine is pretty small, so I do 2 at a time). The green tomatoes should be golden brown on the outside, but cooked, yet still firm on the inside. Once they are done frying return them to the same baking sheet and sprinkle them with salt immediately. Keep warm until you are ready to layer them in the salad.
4. For the BLT Salad: Toss the baby spring mix greens with some of the buttermilk ranch dressing. Place some of the salad in the center of plate; top with some candied bacon slices, and then place a fried green tomato on top of the bacon. Repeat this pattern, so that you have a stacked and layered salad. Drizzle some more buttermilk ranch dressing over the top and garnish with red bell pepper and green onions. 

Sunday, April 22, 2012

Funfetti Birthday Cake Batter Pancakes with Vanilla Glaze

Happy Birthday to my Mountain Man :) I love that our birthdays are so close because we get to celebrate them together. He's officially an old man... he's turning the big 25 today. Geeze, they just grow up so fast. It's depressing honestly. Anyway, I always make him a big birthday dinner and a delicious cake, but this year, I decided to wake up a little earlier than him, and whip up some birthday cake batter pancakes. I made them extra-festive by adding lots of sprinkles, mini m&m's, and different colored dyes for a tie-dye effect. These rainbow pancakes are then drizzled with a simple vanilla glaze and garnished with even more sprinkles. I can't think of a better way to be woken up in the morning... I mean, getting dessert for breakfast in bed? Perfection. This might have to turn into a birthday tradition. They are just too cute. I'll post the other recipes from this dinner in the next few days!! Enjoy :)
Funfetti Birthday Cake Batter Pancakes with Vanilla Glaze
Lots of Sprinkles... 
So many pancakes :)
For the Pancakes:
1 ½C AP Flour
2/3C Cake Mix
1T Sugar
¾t Baking Powder
Pinch of Salt
2 Eggs
1t Vanilla
1 ½C Milk
Sprinkles & Mini M&M’s

For the Vanilla Glaze:
1C Powdered Sugar
½-1T Milk
½t Vanilla
Sprinkles, For Garnishing

Directions:
1. For the Pancakes: Combine the flour, cake mix, baking powder, sugar, and salt in a bowl and mix. Add the milk, egg, and vanilla and stir until smooth. Preheat a skillet on medium heat. Fold in the desired amount of sprinkles and mini M&M’s into the batter. Pour the batter in ¼C measurements onto a skillet and let it cook until bubbles form on top, about 2-3 minutes. Flip the pancakes and cook for another minute.
2. For the Glaze: Mix the milk, vanilla, and powdered sugar until a thick glaze forms. You may need a little more sugar or milk to reach the desired consistency. Drizzle the glaze over the pancakes and garnish with more sprinkles.

Tuesday, April 17, 2012

The Best Fried Chicken I've Ever Made

I'm back folks, and I'm another whole year wiser (debatable). Yesterday was my birthday, and it was actually really great. I know I might sound crazy for saying this, but I kinda hate birthdays. Like a lot. In the past, I always had something go wrong and just completely ruin this celebration for me all together. So, when deciding what to do about my birthday this year, I just went with the flow and enjoyed a relaxing day of shopping, lunch, and a birthday dinner out in the garden with my Mountain Man. In my family, the birthday girl or boy always got to pick what we would have for dinner. Initially I thought I might want to go out to a fancy restaurant, but all of a sudden, I got a serious cravin' for fried chicken. My Mountain Man didn't quite comprehend at first that I just wanted fried chicken for dinner. Yep, no sides or nothin'. Just a big ole' plate of delicious fried chicken, some mint juleps, and a couple slices of birthday cake. I took it upon myself to really write a recipe for the best fried chicken that I could ever make. And it was. I took many different ideas from other popular fried chicken recipes and combined them into one power combo. I brined the chicken in a simple salt-sugar brine because I find the chicken is wayyyyy more moist when soaked in a brine as opposed to marinating it in buttermilk. After I brined the chicken, I made a seasoning spice mixture to completely coat the chicken and make it super tasty. I also like this technique of no seasonings in the flour because they can burn, which is just no good. I coated the chicken in flour and cornstarch, dipped them into a buttermilk batter, and then back into the flour again. The battered chicken was fried in vegetable shortening (or peanut oil) until golden brown & crispy on the outside. Yet, the chicken was so moist and flavorful on the inside. This was seriously the perfect fried chicken, and exactly what I wanted for my birthday. After we fried up the chicken, we threw them onto a newspaper-covered table out in the garden and just went at 'em. I love my fried chicken with some hot sauce and honey, so definitely give that a try. I mean, what's better than mint juleps, fried chicken, and birthday cake? Nothin'. I will be making this recipe over and over again in the future!! Enjoy :)
The Best Fried Chicken I've Ever Made
mint juleps + fried chicken
For the Brine:
4C Lukewarm Water
½C Sugar & Kosher Salt
2-3lbs Chicken Wings & Drumsticks

For the Dry Rub:
2t Pepper
1 ½t Paprika
¾t Cayenne
½t Garlic Powder & Onion Powder
Prepared Brined Chicken, Completely Dried

For the Flour Coating:
2C AP Flour
½C Cornstarch
Salt & Pepper, To Taste
Prepared Dry Rubbed Chicken

For the Wet Batter Dip:
½C AP Flour & Cornstarch
1t Baking Powder
1C Buttermilk
½C Water
1 Egg
Hot Sauce
Pinch of Salt & Pepper

For the Fried Chicken:
2-3lbs Chicken Wings & Chicken Drumsticks
Brine
Dry Rub
Flour Coating
Wet Batter
Peanut Oil or Vegetable Shortening, For Frying
Salt & Pepper, To Taste
Honey, Hot Sauce, Pepper Vinegar, or Maple Syrup, For Serving

Directions:
1. For the Brine: Place the chicken into a large Ziploc bag. Combine the water, sugar, and salt in large bowl and whisk until the sugar and salt dissolve. Pour the brine over the chicken and refrigerate for 4 hours (no longer because the chicken will become too salty). Once brined, drain & dry the chicken, and then set aside.
2. For the Dry Rub: Whisk together all of the seasonings until combined. Rub this mixture all over the dried, brined chicken until completely coated. Place the chicken into a bowl, cover, and chill overnight. Once the chicken has marinated, remove the chicken from the refrigerator and let it stand at room temperature for 1 hour.
3. For the Flour Coating: In a dish, combine the flour, cornstarch, salt, and pepper. Dredge the rubbed chicken in the flour mixture and shake the excess flour from the wings, and then place them onto a baking sheet that is lined with a cooling rack. Let the coated chicken rest for 30 minutes to an hour. This helps the chicken hold onto the crust better when it’s fried. Set the remaining flour mixture aside because the chicken will need a second coating.
4. Heat the oil in a deep fryer to 350 degrees while your chicken rests.
5. Battering the Chicken: Whisk together all of the wet batter ingredients until a smooth, thin batter is formed (this should be the consistency of a thin pancake batter, if the mixture is not thin enough, then add some water for a thinner batter). Once your chicken has rested in the flour coating, dip the chicken into the wet batter let the excess batter drip off, and then finally dredge it once again in the flour mixture, shaking off the excess flour.
6. Frying the Chicken: Fry the wings until they are a deep golden brown and cooked through, about 10-12 minutes. Once the wings are fried, remove them to a wire rack to drain, sprinkle with a little salt, and keep the chicken warm until ready to serve.


And here's some pictures from my birthday...


Sunday, April 15, 2012

Homemade Funfetti Cupcakes with Whipped Rainbow Chip Buttercream

This is an early celebration for my birthday tomorrow. I can't believe I'm going to be another year older. So dreadful. I don't really have much planned besides shopping, dinner, and birthday cake. I almost always have a red velvet cake because that's my favorite kind, but this year I opted for something a little different and got a Tiramisu Cake from a local bakery. Anyway, I typically don't make cupcakes, but I decided to whip up a batch of Homemade Funfetti Cupcakes with Whipped Rainbow Chip Buttercream. I had made a birthday cake last year with homemade rainbow chips, and it was awesome. If you want to make them, refer to this recipe. And, let's be honest, the best part is the frosting... I'm kind of a "1:1 cake to buttercream ratio" girl. So, feel free to do less frosting if you like. But, I don't think you will want to because this frosting is like buttercream on steriods. It's deliciously fluffy like whipped cream, but got body to it like a buttercream. I guarantee that you won't regret the heavy helpin's. These would be awesome for a birthday party!! Enjoy :)

Homemade Funfetti Cupcakes with Whipped Rainbow Chip Buttercream


So many sprinkles :)
For the Homemade Funfetti Cupcakes:
½C Butter
1C Sugar
2 Large Eggs
1T Vanilla
1 ½C AP Flour
1t Baking Powder
1/3C Milk
½C Sprinkles (heaping)

For the Whipped Rainbow Chip Buttercream:
5T AP Flour
1C Milk
1t Vanilla
2 Sticks of Salted Butter
1C Sugar
1C Homemade Rainbow Chips (heaping)

Directions:
1. Preheat the oven to 350 degrees.
2. Cream together the butter and sugar in the bowl of an electric mixer until light and fluffy, about 3 minutes. Add in the eggs, one at a time, beating to combine.
3. Combine all of the dry ingredients in a bowl. Add half of the dry ingredients, mixing until just combined, and then add in the milk. Once mixed, add in the remaining dry ingredients. Fold in the assorted sprinkles.
4. Pour into cupcake tins and fill 2/3 of the way full. Bake for 18-20 minutes. Let cool completely while you make the Buttercream.
5. For the Whipped Rainbow Chip Buttercream: In a small saucepan, whisk flour into milk and heat, stirring constantly, until it thickens. You want it to be very thick, thicker than cake mix, more like a brownie mix is. Remove from heat and let it cool to room temperature. (If I’m in a hurry, I place the saucepan over ice in the sink for about 10 minutes or so until the mixture cools.) It must be completely cool before you use it in the next step. Stir in vanilla. While the mixture is cooling, cream the butter and sugar together until light and fluffy. You don’t want any sugar graininess left. Then add the completely cooled milk/flour/vanilla mixture and beat the living daylights out of it. If it looks separated, you haven’t beaten it enough! Beat it until it all combines and resembles whipped cream. Beat in the homemade rainbow chips until incorporated throughout.
6. Using a large ice cream scooper, scoop a large ball of Buttercream on top of each cupcake. Using a knife, smooth the edges of the frosting. Garnish with sprinkles or more rainbow chips.